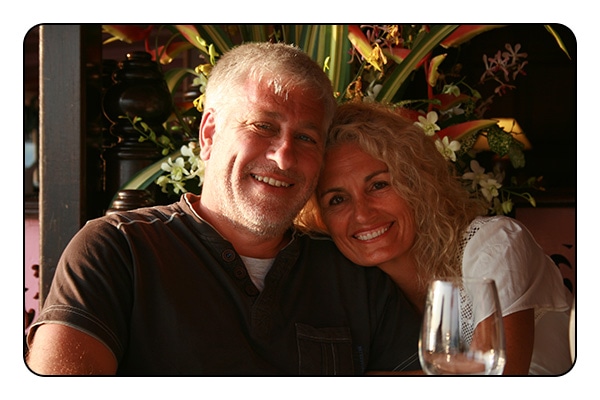
In this tutorial we will create a rounded cornered photo effect in Photoshop CC. This is the effect we are trying to create.

This tutorial is also available as a pdf, you can download it here: Rounded Corner Photo Tutorial.
If you need a starting photoshop file, you can download ours here: Rounded Corners Photoshop File
So let’s get started, open the test file and you will notice that all we have is a background layer that has a colour fill of white and a layer that contains the photo we want to add the rounded corners to.

Select the rounded rectangle tool (shortcut “U”), make sure that you select “path” as the tool mode, enter “20px” as the radius.

Draw the rectangle shape on the photo.

Switch to the “paths” panel (Window -> Paths), select the path you have created and while holding the command key down click the “Add vector mask” button at the bottom of the panel.

This will add a new vector mask to the paths panel.

If you go to you layers panel you will also see that a vector mask has been added to the photo.

and your image should now look like this:

To add the 2 pixel black border, double click to the right of the vector mask in the layers panel. Place a check in the “Stroke” checkbox, set the size to 2 and the colour to black. Click OK and you are done.
