
In this tutorial I will show you a step by step guide on how to add a font awesome icon to a button object in Oxygen Builder using the CSS pseudo-element :before. As a matter of fact this procedure can be used to add icon fonts from other collections as well as we will be using Fontello – icon fonts generator to get the required icon fonts. The final result we are looking for is something similar to this:

The very first thing we need to do is download the fonts we want to use in our website. Go to https://fontello.com/ search for the icon fonts you will need to use throughout your website and download them as a zip file. In our case the only one we need is the phone icon so search for “phone” and click on the Font Awesome “phone” icon to select it and then click the “Download webfont” button:

Next you will need to install the font you have downloaded onto your website. To accomplish this we will need to download and install and activate the plugin https://tt.wordpress.org/plugins/elegant-custom-fonts/
Next connect to your website using FTP and create a folder in the root folder called “fonts” and upload the fontello.woff file extracted from the downloaded zip file.
Next go to Settings -> Fonts from the WordPress dashboard.
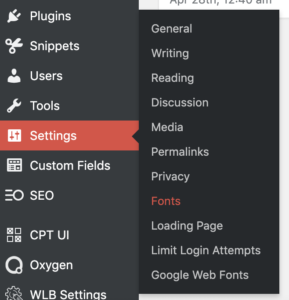
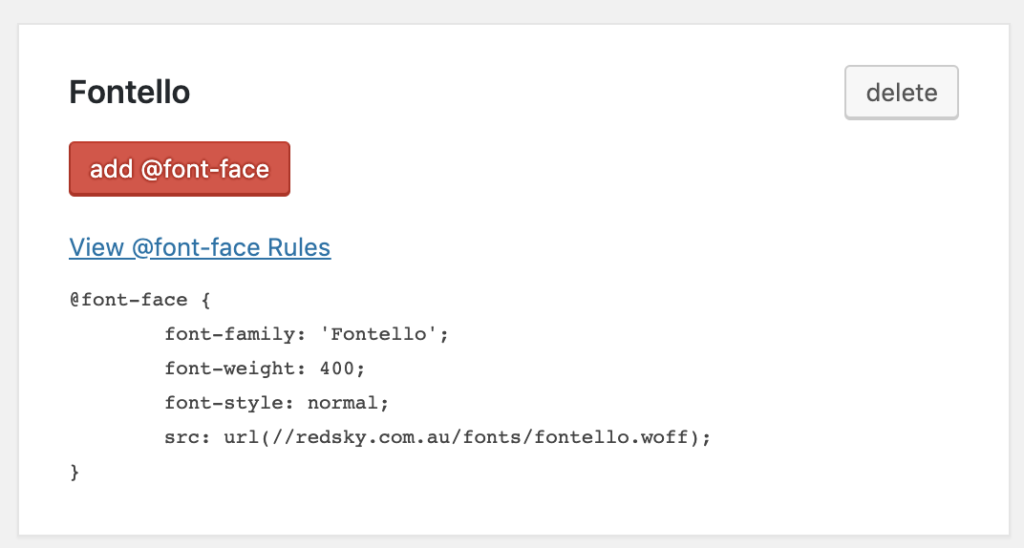
Click on the “Add Font Family” button give it the name “Fontello” and then click the “add @font-face” button and add the following details font-weight, font-style and the url to the woff file that you have already uploaded to the website. Your @font-face rule should now look something similar to this:
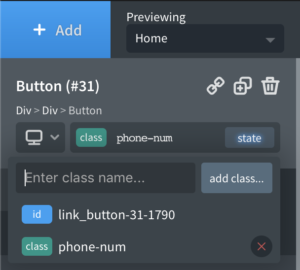
Create your button as you would normally, as this tutorial is about adding a Font Awesome icon to the button, I wont go into the details of creating the button itself but when you have to button looking like you want it, click on the button and add a class called phone-num or some other descriptive name.
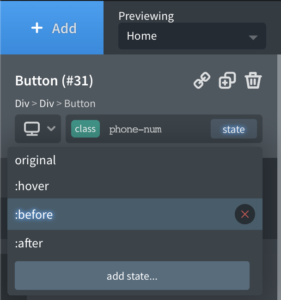
Next make sure that the new class you have assigned is selected and click on the state button. If there is a :before visible from the drop down list select it, if not click the “add state…” button to add it to the list.
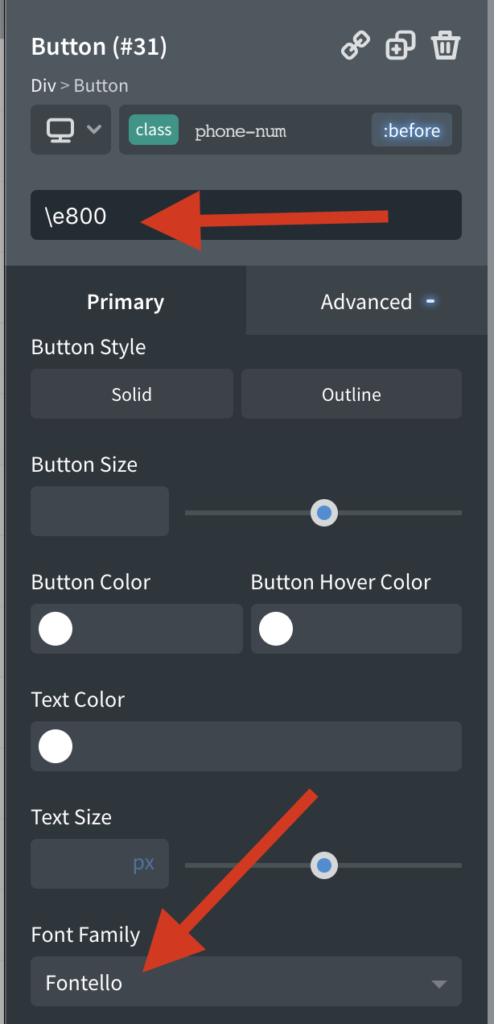
Next make sure that the state :before is selected in the properties there are only two things that we need to change although there are other things you can change optionally like padding or font colour etc.
The first thing is the “content” field. This is where you put the unicode of the icon and you can get it by going back to the extracted Fontello folder you did earlier and clicking on the “demo.html” file this will open in your web browser. Next click on the “show codes” checkbox this will show you the code you need to enter, it is the last 4 digits preceded by a “\” in my case I want to use the icon phone which has a unicode of 0xe800 so I can enter it in the content field as \e800.

The second thing that you must change is the font family, select “Fontello” from the drop down list.
Save and you are done. You should now see the phone icon before the button text. If you don’t you might need to clear any caches if you are using a plugin and also your browser cache. You might also want to do a little more styling to add padding change the colour etc.